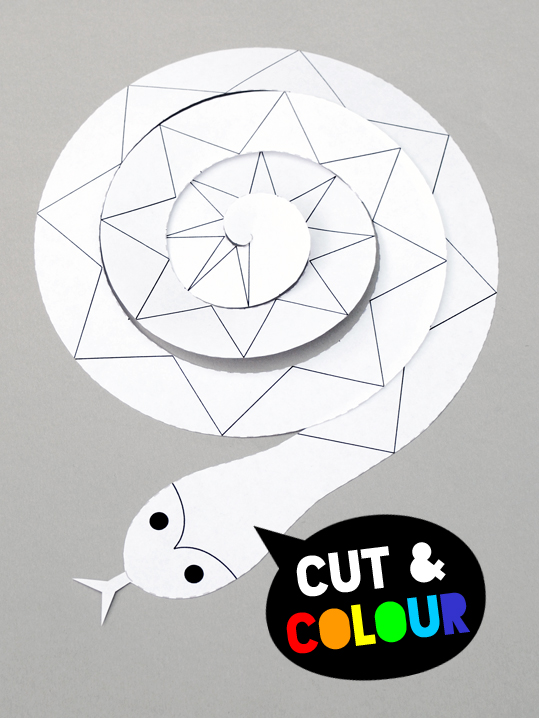
Hello, do you remember the paper octopus I posted recently? Well here is another ‘scissor skills’ project aimed at younger children (my sons, now 7 & 8 enjoyed making them too). This is a great project […]
Hello, do you remember the paper octopus I posted recently? Well here is another ‘scissor skills’ project aimed at younger children (my sons, now 7 & 8 enjoyed making them too). This is a great project […]
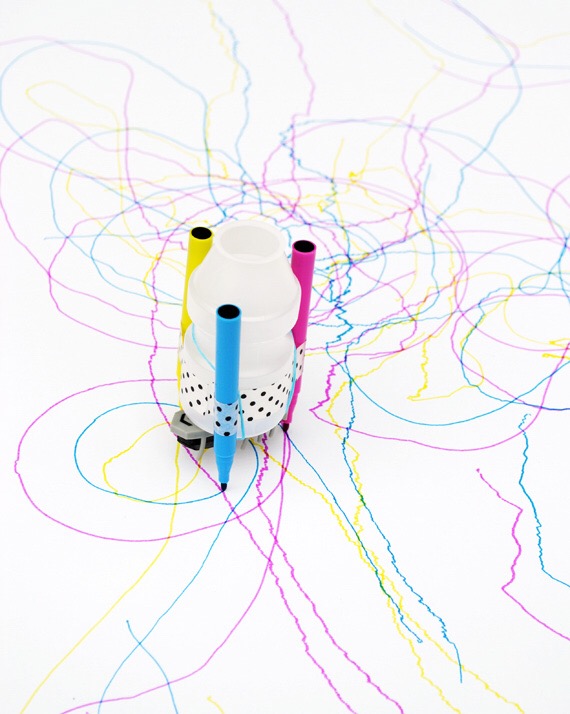
Hello! I saw this lovely post by hello wonderful and really wanted to make a draw-bot but the vibration motor and coin battery holder were expensive and not available in the UK. My sons and I […]
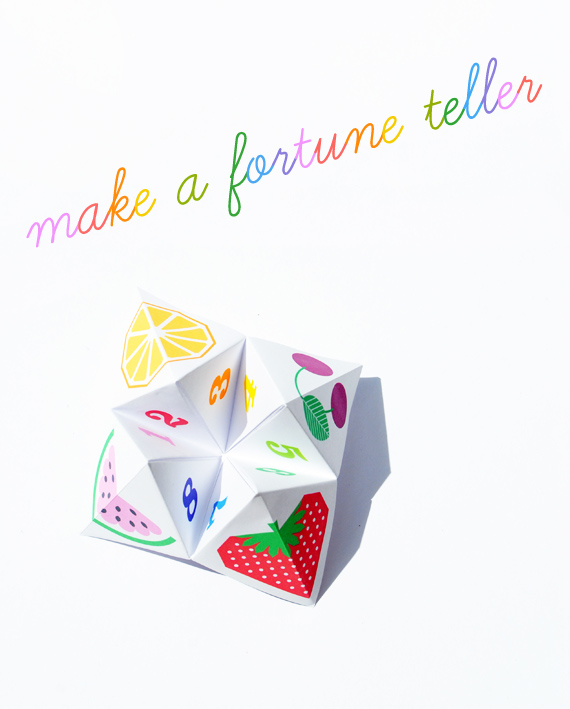
Remember these? I used to spend loads of time as a kid making paper fortune tellers. I’ve been making them with my little ones lately and they like them as much as I do. I’ve designed […]