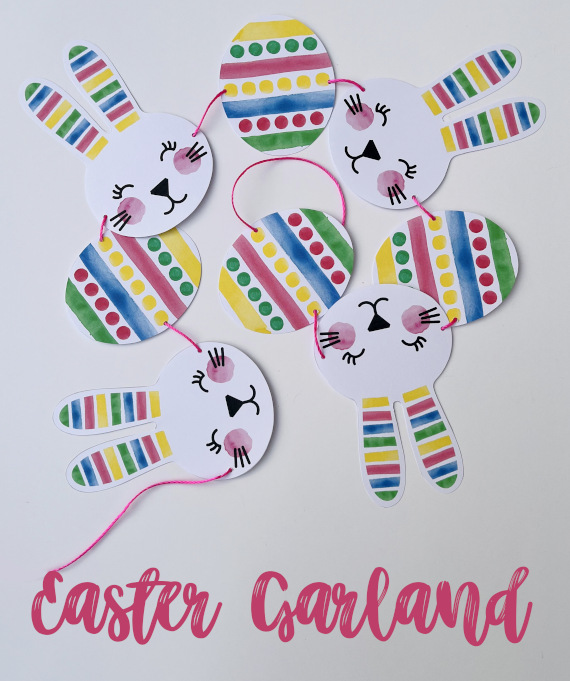
Hello! Spring is beginning to reveal itself here in the south west of England. It’s been such a lovely day that I actually managed to take these photographs outside. Here is an Easter bunny garland to […]
Hello! Spring is beginning to reveal itself here in the south west of England. It’s been such a lovely day that I actually managed to take these photographs outside. Here is an Easter bunny garland to […]
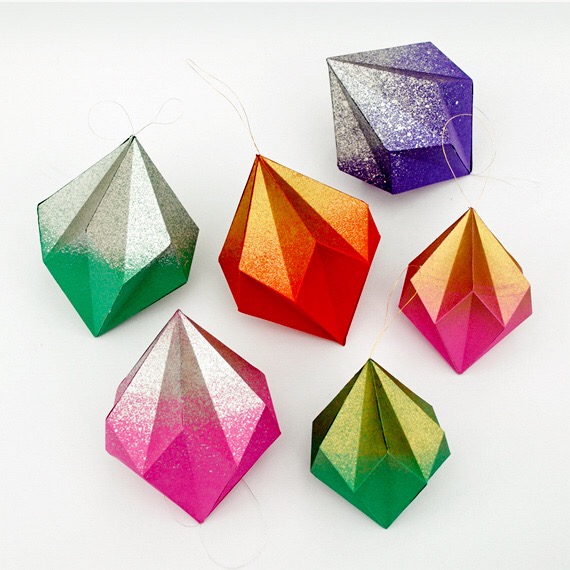
Hello there. I thought I would pop in quickly to wish you all a wonderful Christmas. I hope you all get a chance to have a good rest over the Christmas break. I designed this paper […]
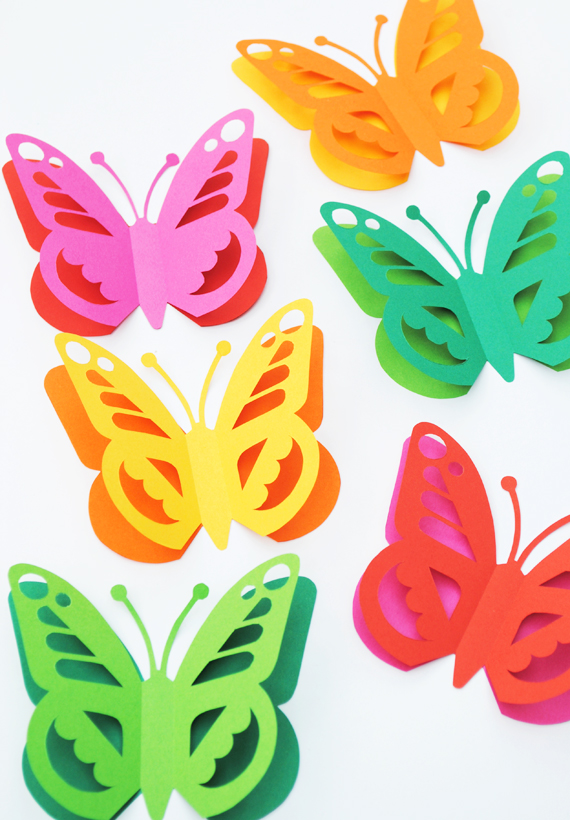
Hello there. I hope you all had a lovely summer. My children are back at school and I returned to work a few weeks ago so summer seems like a distant memory – I even had […]