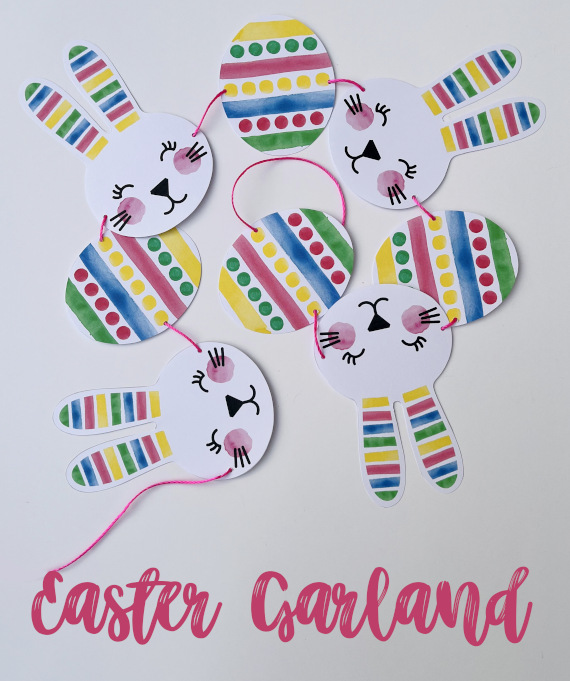
Welcome Spring with This Free Printable Easter Bunny Garland! Spring is finally arriving here in the southwest of England, and it’s the perfect time for some Easter crafting! We’ve created a free printable Easter Bunny garland […]
Welcome Spring with This Free Printable Easter Bunny Garland! Spring is finally arriving here in the southwest of England, and it’s the perfect time for some Easter crafting! We’ve created a free printable Easter Bunny garland […]
One benefit of being a teacher during lockdown was that I learnt how to use imovie! Equipped with this new skillset (and with help from my tech savvy son) I am hoping to take this website […]
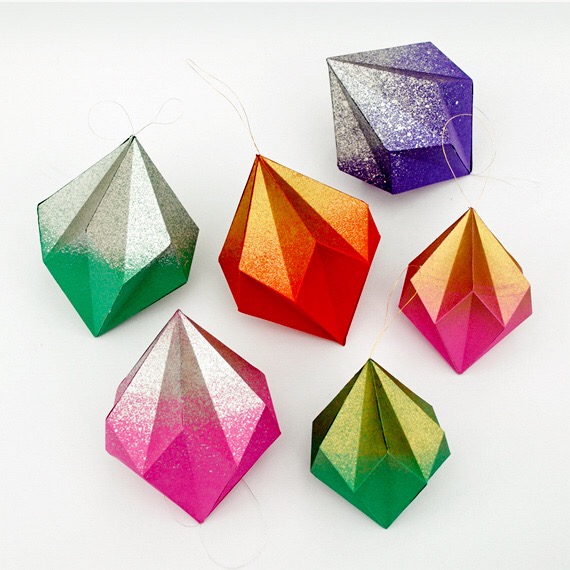
Hello there. I thought I would pop in quickly to wish you all a wonderful Christmas. I hope you all get a chance to have a good rest over the Christmas break. I designed this paper […]