One benefit of being a teacher during lockdown was that I learnt how to use imovie! Equipped with this new skillset (and with help from my tech savvy son) I am hoping to take this website […]
One benefit of being a teacher during lockdown was that I learnt how to use imovie! Equipped with this new skillset (and with help from my tech savvy son) I am hoping to take this website […]
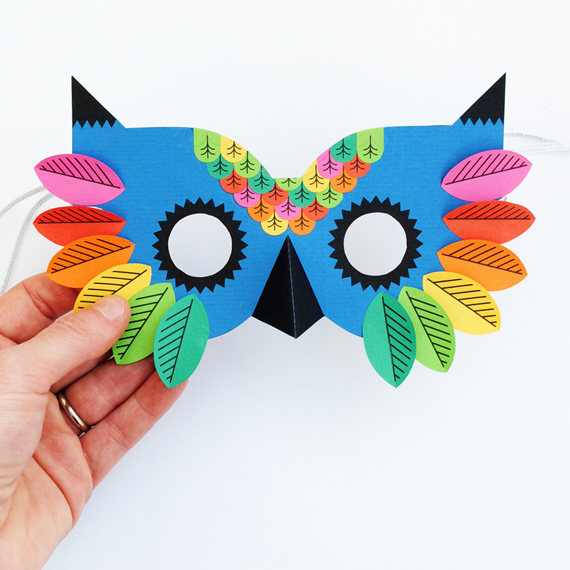
Hello all, I hope you are all well and preparations for Halloween are going well. Paperchase asked me to design a mask for Halloween. I have a thing for owls so it seemed only natural to […]
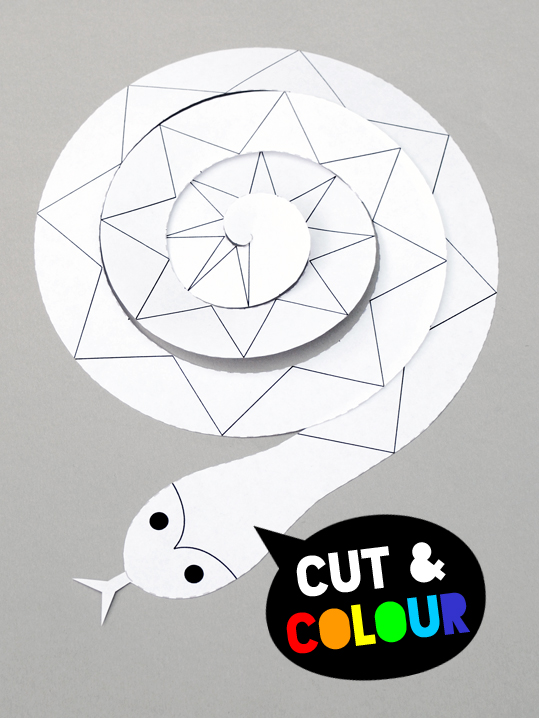
Hello, do you remember the paper octopus I posted recently? Well here is another ‘scissor skills’ project aimed at younger children (my sons, now 7 & 8 enjoyed making them too). This is a great project […]