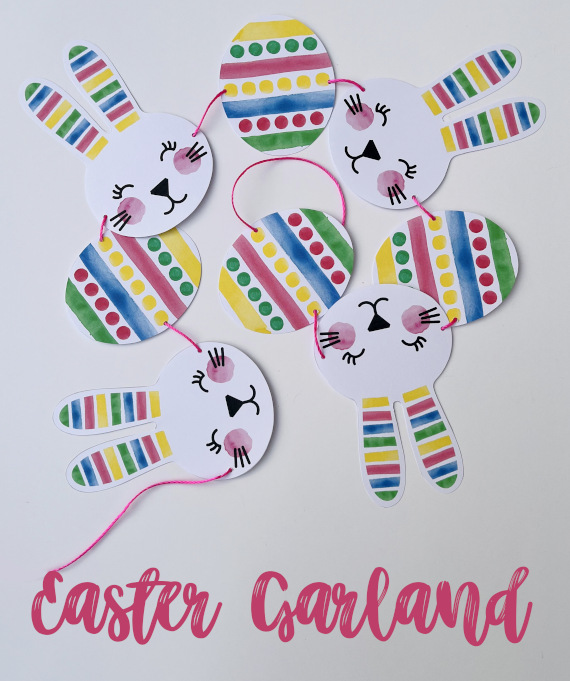
Welcome Spring with This Free Printable Easter Bunny Garland! Spring is finally arriving here in the southwest of England, and it’s the perfect time for some Easter crafting! We’ve created a free printable Easter Bunny garland […]
Welcome Spring with This Free Printable Easter Bunny Garland! Spring is finally arriving here in the southwest of England, and it’s the perfect time for some Easter crafting! We’ve created a free printable Easter Bunny garland […]
Hello there. I thought I would pop in quickly to wish you all a wonderful Christmas. I hope you all get a chance to have a good rest over the Christmas break. I designed this paper […]
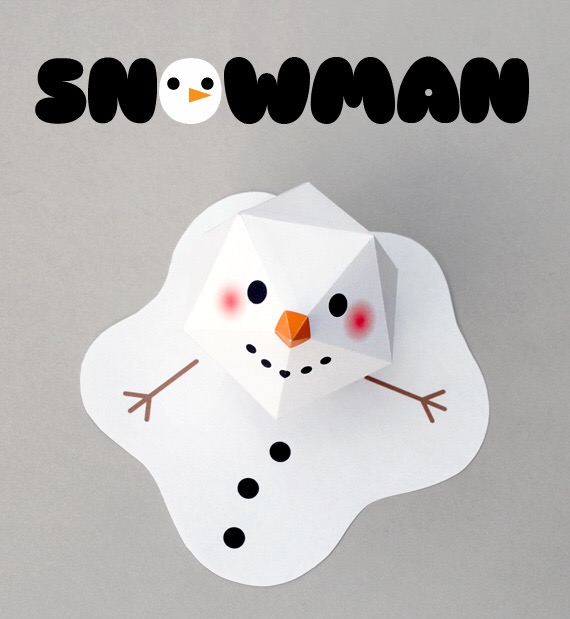
Hello folks! I made this paper snowman last year and thought it would be funny to make a melting version (inspired by these biscuits!). It’s been 3 or 4 years since we have had a good […]