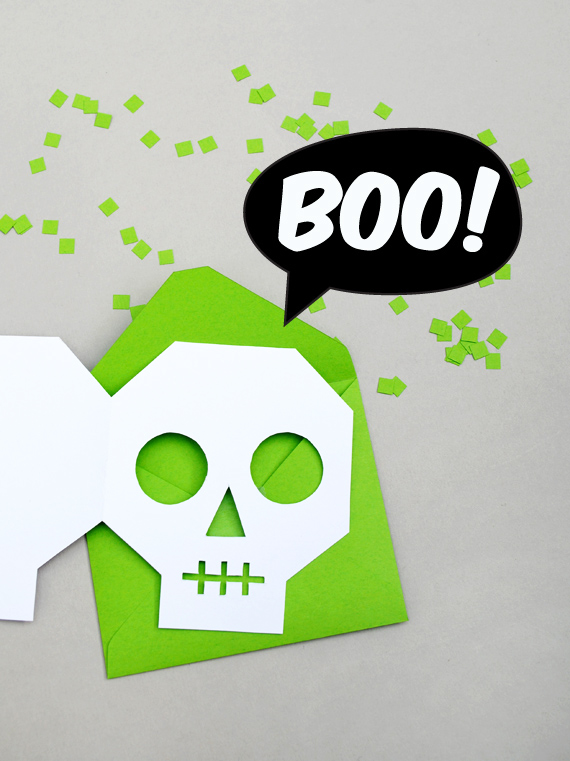
I love Halloween. It’s one of my favorite times of year for making stuff! I imagine a lot of people will be planning their parties at the moment so I thought it would be a good […]
I love Halloween. It’s one of my favorite times of year for making stuff! I imagine a lot of people will be planning their parties at the moment so I thought it would be a good […]
I‘ve been having a clear out and came across some leaves that I pressed last year. I sprayed them with silver paint and they look ace. You could use them for all sorts of things – […]
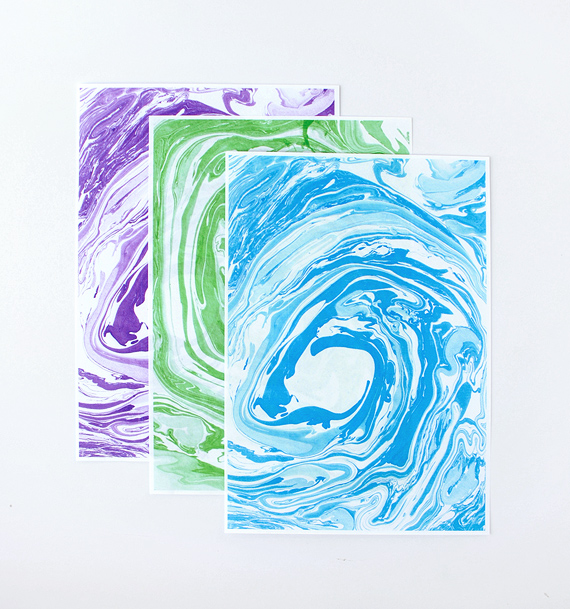
I was looking for some printable marbled paper last week to make some envelopes out of – I couldn’t find any anywhere so I made some instead. You might be able to use it for a […]