Firstly I just wanted to say a Happy Thanksgiving to all my American readers. Hope you all have a wonderful time ^_^
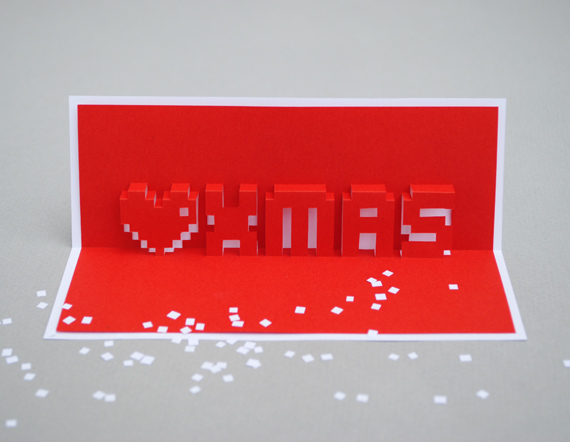
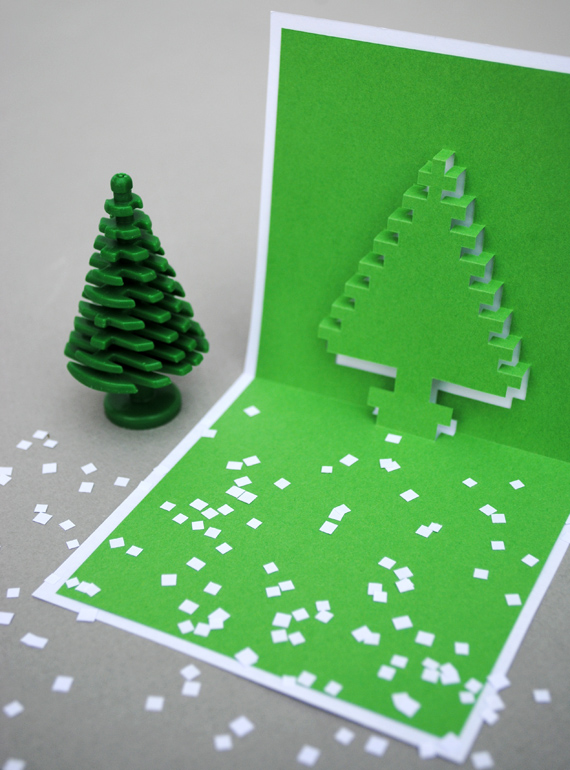
I have had quite a few requests for Christmas pixel popup cards. There are three designs below if you fancy having a go at making some.
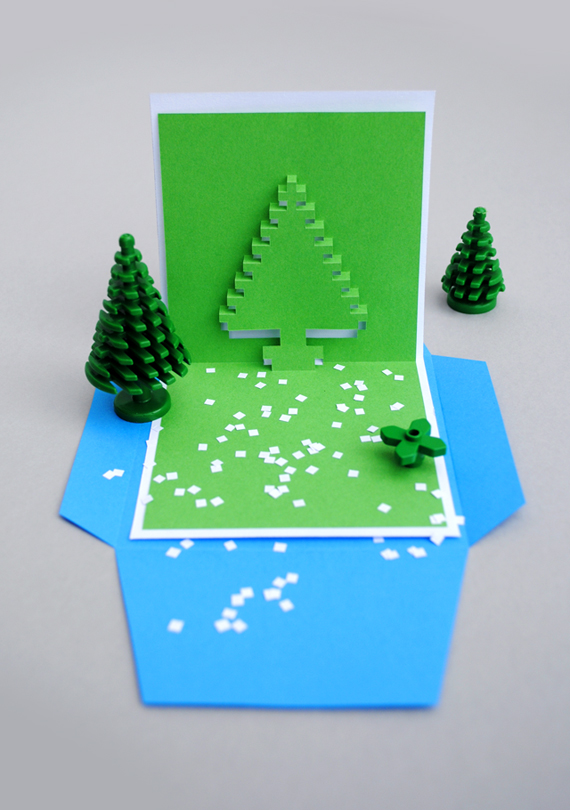
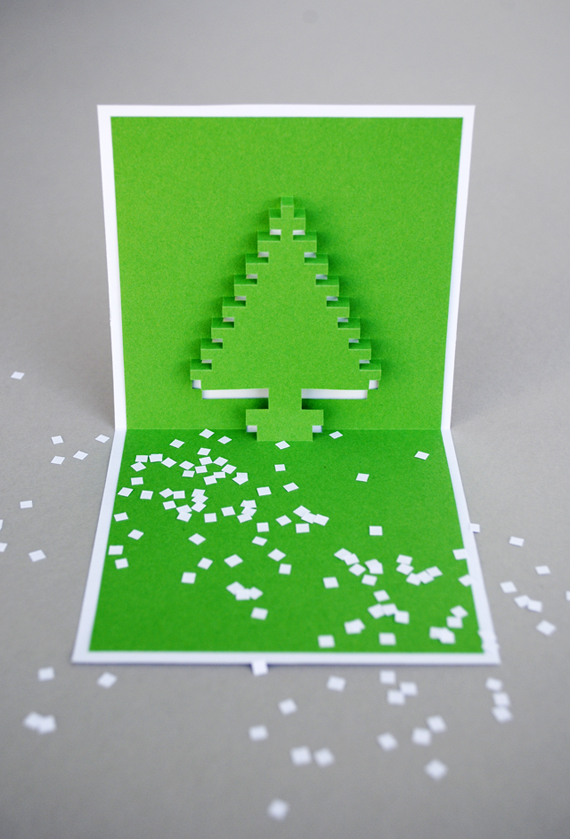
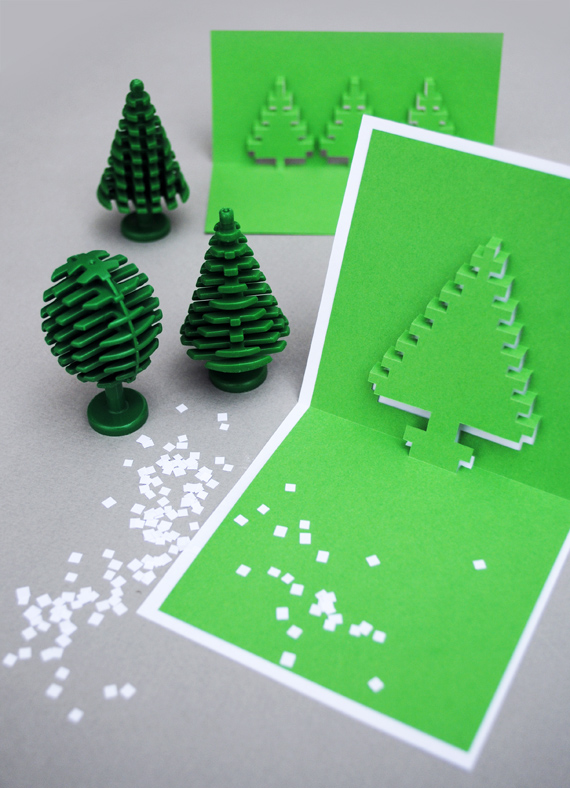
I tried lots of designs out. Some were a complete disaster! The trees definitely turned out to be the best…they remind me of lego trees!
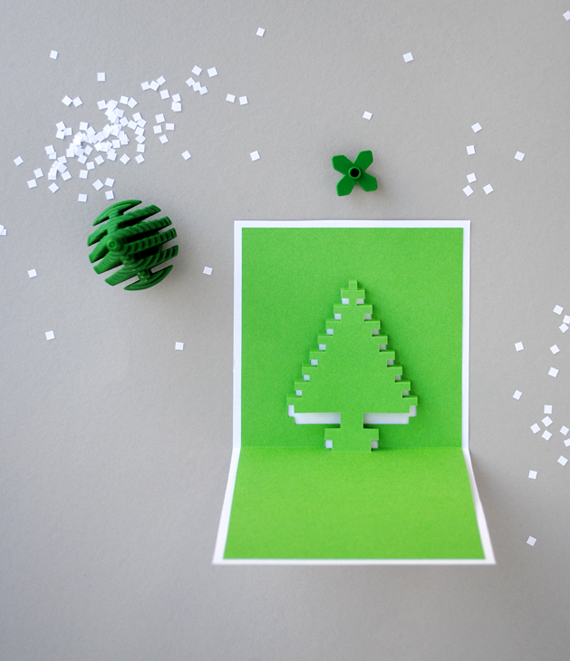
Speaking of which I am going to hang lego trees up in our Christmas tree this year. I like the idea of a tree within a tree!
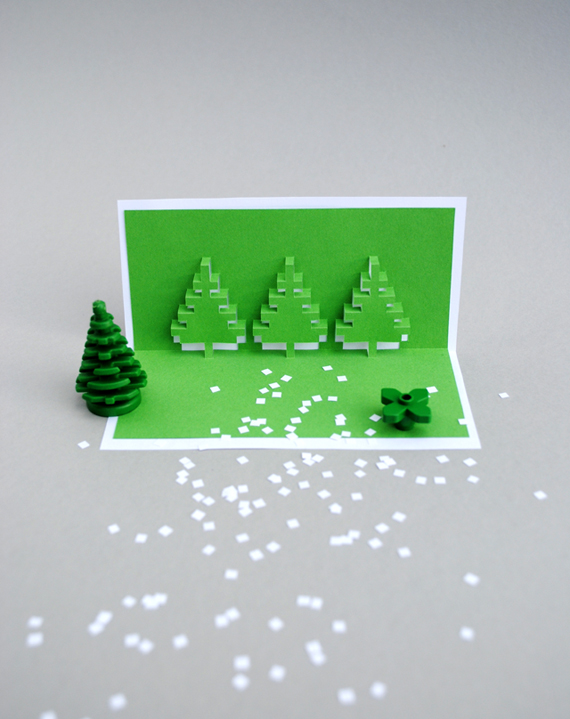
Text based designs work really well too. The photo below doesn’t really do that card justice! (The weather here is terrible at the moment so it’s been hard to take good photos).
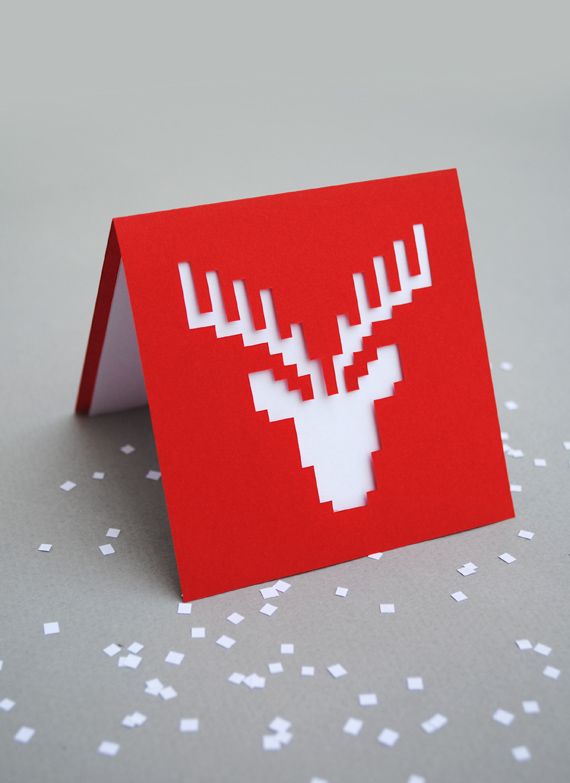
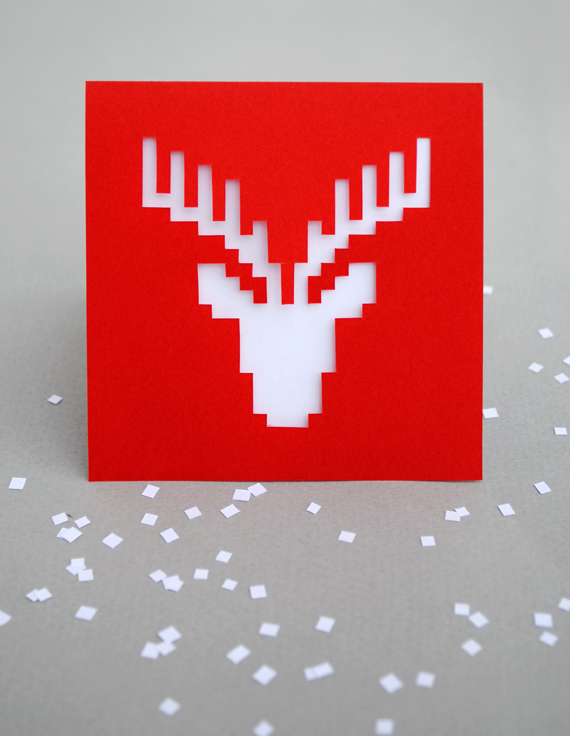
My reindeer was a flop! (It did exactly that!). I do think it looks nice as a simple paper-cut though.
If you fancy making some you will find templates and a tutorial after the jump…
…don’t forget to make some pixel snowflake confetti to go in your card ^_^
Click on the link below for full how-to!

YOU WILL NEED:
– – – – – – – – – –
+ A craft knife
+ Paper
+ Ruler
+ Needle (for scoring)
+ Double sided tape
+ Cutting mat (preferable)
+ Printable files (all files are at the bottom of the post)
HOW TO
– – – – – – – – – –
1. Download the popup insert template of your chosen design and print out. I would recommend using good quality paper rather than card. Using some scissors trim around the edge of the template. Then using a craft knife make all the vertical and horizontal cuts (refer to scoring/cutting diagram below).
2. Now take a ruler and needle and score along the horizontal lines (refer to scoring/cutting diagram below).
3. Turn your card over so that the printed lines are on the back of the card. Make the fold in the centre of the card and at the foot of the design.
4. Manipulate the card so that the rest of the design pop out. This is the trickiest step and needs gentle manipulation and some patience! I found sticking a skewer behind the design really useful. The single tree is the easiest design to make so if you haven’t made these before then start with that design.
You should now be able to fold your car fully in half and the design should lie flat in the middle!
5. Make your outer card and tape your popup insert inside. I would recommend using some double sided tape on the top half of the card only.
6. Print out the envelope template. Cut, score and fold.
7. Pop card inside and tape envelope shut (I added some pixel snow confetti too)!
If you have any problems please leave a comment and I will get back to you ASAP!
TOP TIPS
– – – – – – – – – –
– For best success make sure you have a sharp blade in your knife (and be careful not to cut your finger like I did!).
– Precision and patience is definitely the key to succeeding with these popup cards. It definitely gets easier once you have figured the first one out.
If you are finding these designs too tricky try the 8-bit cards instead. They are a little simpler and will help you understand how they work.
“SINGLE TREE” FILES:
Cutting/scoring guide
Pop-up insert template
Envelope Template
Outer card Template
“3 TREES” FILES:
Cutting/scoring guide
Pop-up insert
Envelope & Outer card Template
“♥ XMAS” FILES:
Cutting/scoring guide
Pop-up insert
Envelope & Outer card Template
“REINDEER” FILES:
Card template
Envelope Template
Inner card Template

wooo!w! thanks for this amagazing tutorial! ;A; I´ll try to do this cards! ♥ *happy thanksgiving*
This is perfect! I’ve been racking my brains trying to find ideas for my Christmas cards this year.
I’ve made your pixel pop up cards before and always receive many compliments. Thanks for including a Christmas version. I will be sure to make these.
Merry Christmas and thanks for a fantastic blog!!
These are great. I think the trees are my favourite even though that’s a tough call! You’ve reminded me I must pull out my Lego Christmas village soon. (It seemed OK to get a Christmas village once I discovered there were Lego sets…)
And can I just say BOO to the weather? I’m having the same problem.
Thanks Stephanie…hope they go well 🙂
Yay!
Good luck Kahiry 🙂
Just googled that Christmas villiage and am quite jealous!!
Yep…weather is pants. I’ve never know a year like it. I need some studio lights (or a new photographer friend!). So hard to take pictures when it’s so dreary outside. Ho hum!
That’s amazing!! I love it. Will definitely make some this Christmas 🙂
Those are suuuper cute!
About how long does it take to make one card? I would like to make some but I need about 20-40 and I will only have max. 4 hours to make them. I can get help from one other person. But does it take a long time per card? Or can it be done in minutes?
This is so cute, i love the tree
Hi Megan…it depends on which one you do and how quickly you work. Ballpark figure: 10 minutes for the deer & 15-20 minutes for a single tree.
Give one a go and see how long it takes you (just use some plain white computer paper to test on).
Hi Abegail,
Using a ruler you run the point of the needle along the length of the line. It scores/dents the paper making it easier to fold and gives the paper a nice sharp crease. Have a go on a plain piece of paper and try it out ^_^
If you don’t have a needle you can use a compass point or anything like that.
What a great tutorial! Well, as always!
uauu¡¡ not is posible¡ is perfect¡¡ I will do it ¡¡¡
Those are amazing!
Words cannot describe how awesome theses cards are. You never fail to amaze and inspire my crafty side! Thank you for your amazing website! 😀
Yay…glad you like it. No need to say thank you…I have a great time putting this blog together ^_^
Génial merci beaucoup
Bravo! celà va beaucoup amuser mes petits bous de choux! Merci
Merci pour cette idée très sympathique !
Je vais la tester !
Oh, i love your pixel cards! Great work! Thanks for sharing them…
These are just wonderful! I love the “Lego” tree 🙂
These are so cute. I will definitely have to try one – or twenty. Thanks for sharing your talents with us!
Thank you !! They’re perfect, not overly difficult but making a great impression !
Yay! Glad it went down well Angelica ^_^
looks great Ana…cute gingerbread man ^_^
These cards are great! I’ve definitely got to try and make a few for family and friends.
WOw, my favourite blogger!
I had trouble with the templates. They didn’t download for me, all except the reindeer. He came up as a nice pdf. I hiave a Mac. Is that the trouble? I got around it with screen shots and cropping, but who needs the fuss?
Lovely designs. Happy Christmas!
Hi there,
Sorry to hear you had trouble. I’m puzzled as to why you could view one and not the others as they were all produced in the same way. If anyone else is having trouble viewing these on a Mac then let me know and I’ll investigate. (I only have a PC!). Kate ^_^
ty
awesome!!thanks a billion!
it’s good!!
outstanding! Thanks for sharing 🙂
I have just come across your website and absolutely LOVE these! Will be giving them a go very shortly!! Thank you for sharing your wonderful krafty skills 🙂
These are so so so good! Youre amazing! Im a trainee teacher and would love to make them in my graphics class using 2D design and a Roland cutter. Do you have any tips on designing pop up pixels if you were explaining it to kids? Is there a rule to follow or way to make it easier? Thanks!
Hi!
Just wondering why is (heart) xmas template flipped?
Amazing cards btw
So the printed lines show on the reverse ^_^
oh, free porn here,i need it too now in my dick
Can you make a video???
I’m making these cards and Im currently doing the single tree and have cut it and scored but I cannot get it to lie flat !! any tips !! please help!!! or upload a video!! please !!
I have one little question, one the <3 XMAS template there are two of them, do they go together or are they to make a second card if desired? :/
I also have a Mac. Wondering if the question is coming because the cutting/scoring guide shows as a pop-up window photo for the single tree and xmas cards (it’s a .gif file for the 3 trees), so it can’t be downloaded like the other files.
Thanks for a fun idea!
are their any video’s for how to make this?
Made it, totally awesome card idea for my best friend. He loves video games and this is great!!
Very Very beautiful! ! I dont know The English Very Well. … Can You help me And translate in italian?? Thank you so much!!