Hello there! Minieco feels a bit neglected at the moment :/ However behind the scenes I have been crafting my little heart out.
I’ve been bead-weaving, sewing, dyeing, printing, woodworking, macramé-ing and paper-crafting my way through 30 new projects for my new book (I’m 2/3 of the way through the project list so hope to be posting a lot more in April).
My macramé obsession has reached fever pitch lately. I made a quick hanging vase this morning and thought it would be nice to share it with you.
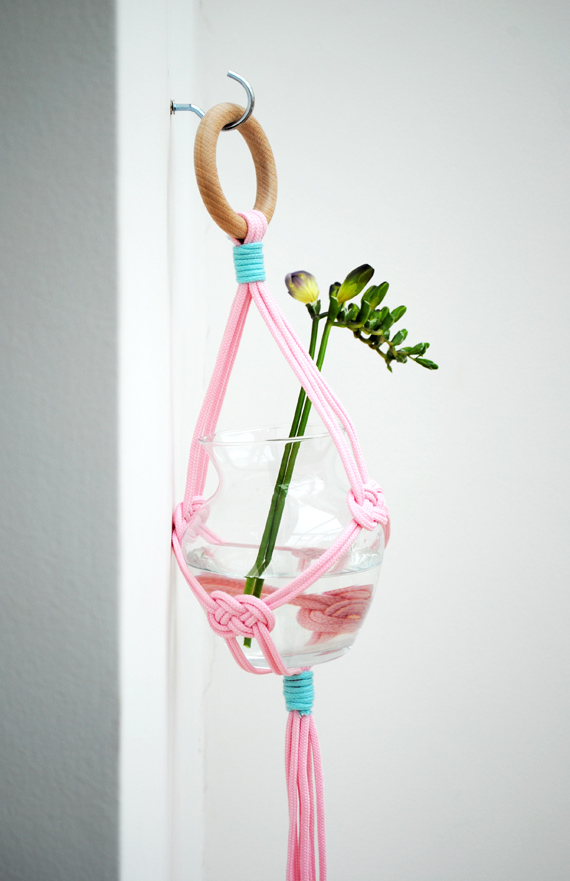
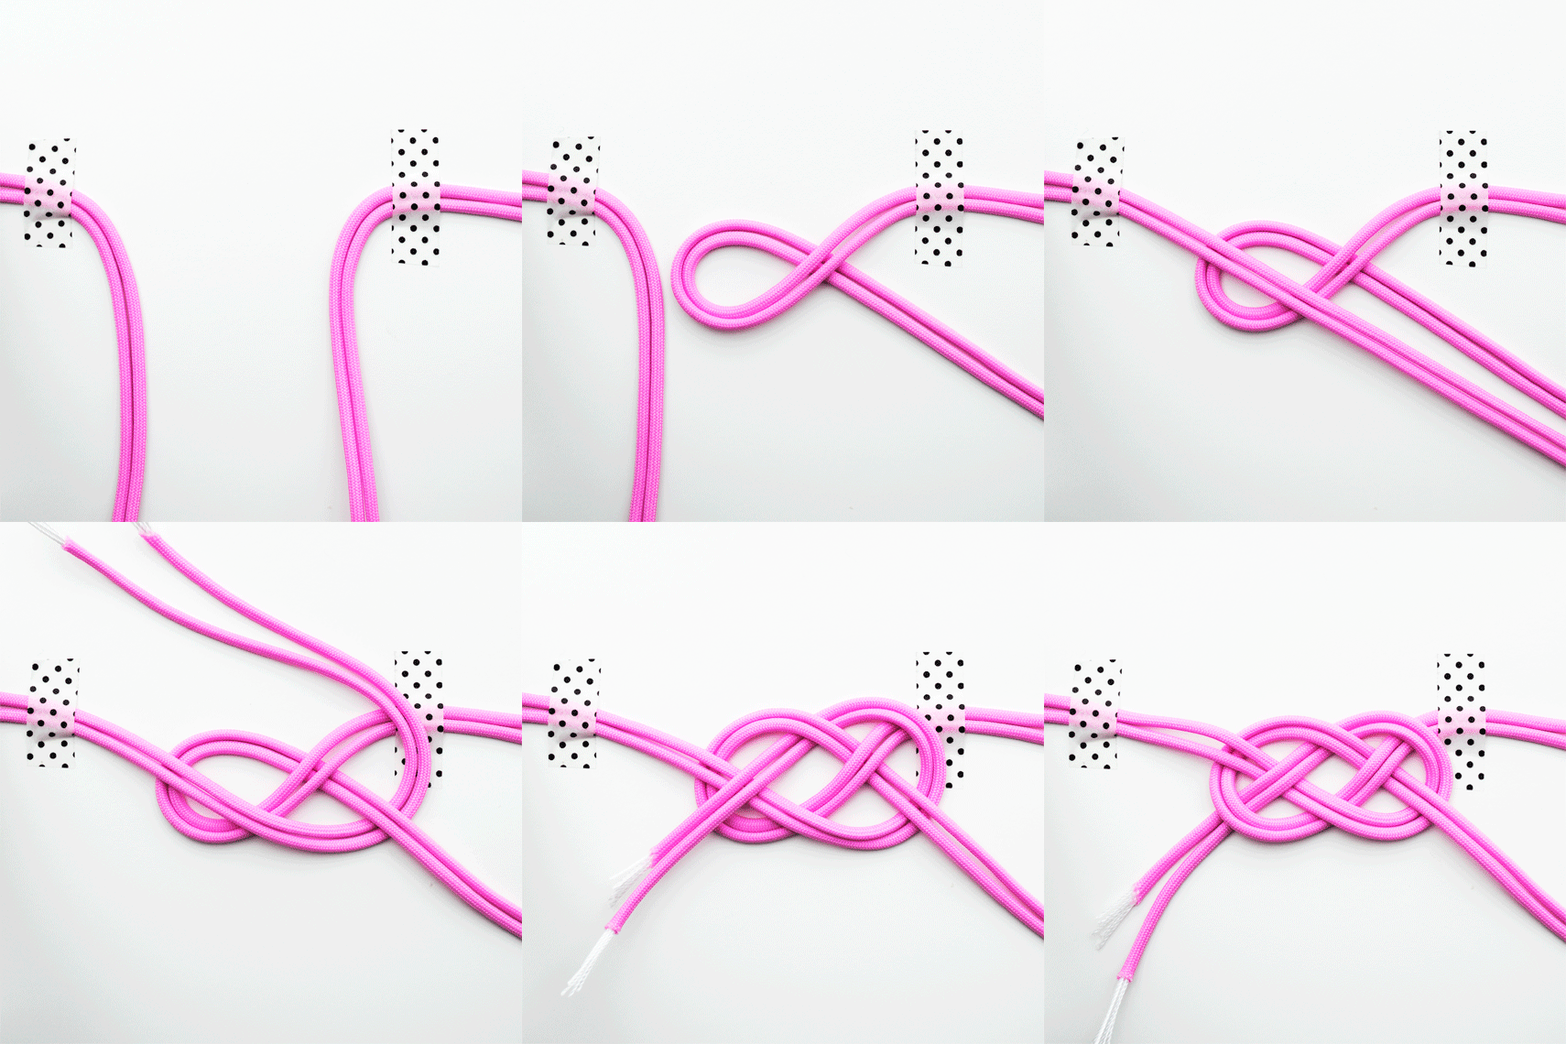
To make this hanging vase you only need to learn a ‘Josephine knot’ (aka Carrick bend) and a ‘gathering knot’ so it’s a lovely easy project if you are just starting out down the macramé/knot-tying route.
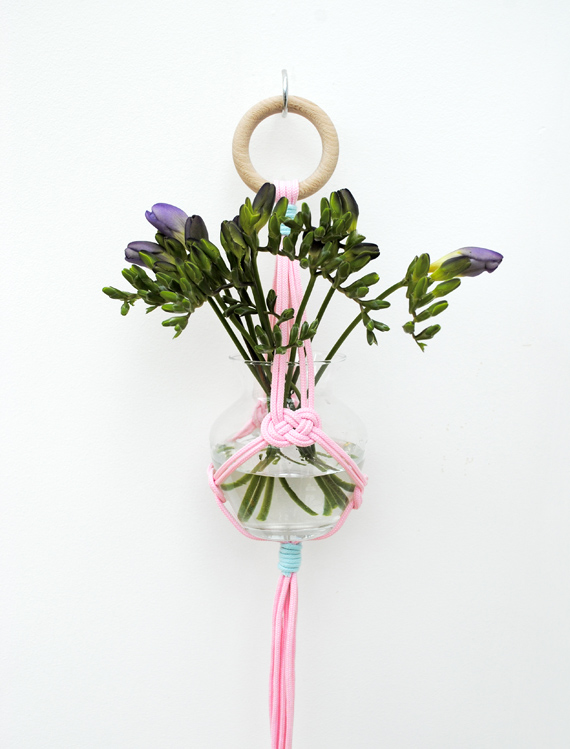
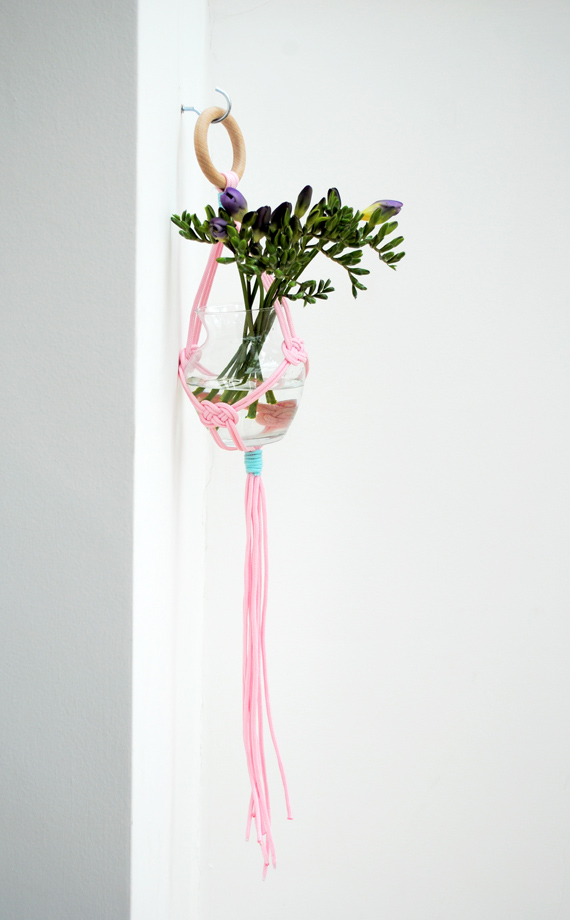
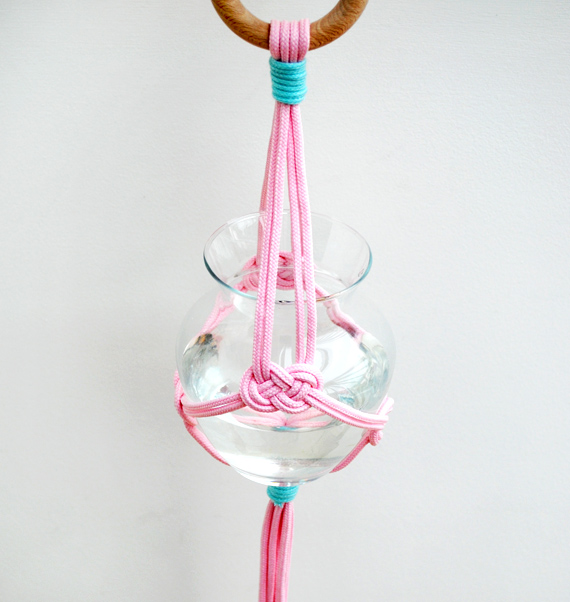
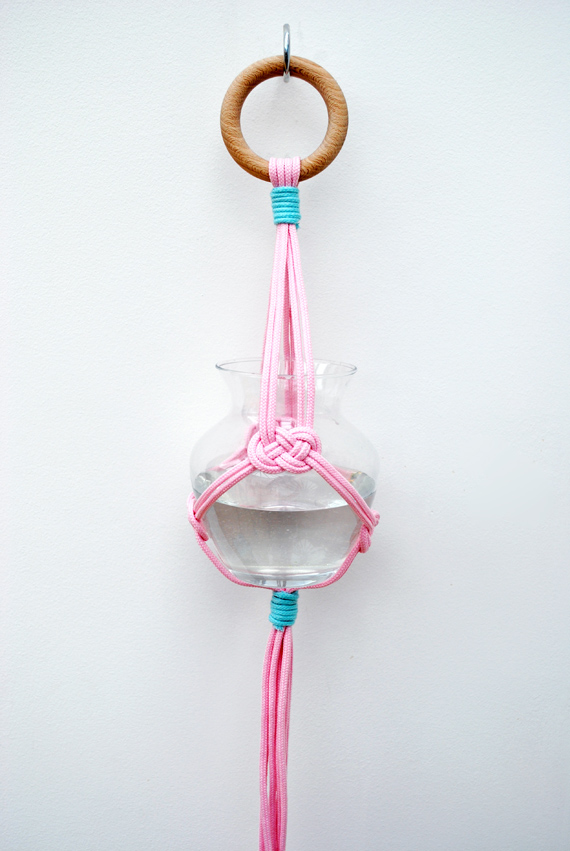
YOU WILL NEED:
– – – – – – – – – –
+ 4 lengths of cord measuring at least 1.5 meters (I used super long shoelaces – but you can use paracord instead)
+ About 50cm of cord (I used a contrasting colour)
+ Glass vase….a jam jar works just as well.
+ Elastic band (optional)
+ Some flowers!
HOW TO
– – – – – – –
First of all you need to master the Josephine knot. Check out the animated gif below. Once you have done this follow the rest of the instructions below:
1. Find somewhere to work…a wall hook works well, or you can use a door handle! Hang your ring on the hook and thread your cords through the ring at their halfway point. You should have 8 working cords.
2. Now you need to do a gathering knot. Chop your extra piece of cord into two pieces. Take one piece and form a loop as shown
3. Take the right-hand section of cord and wind it tightly round the 8 cords. You should do this about 6 times.
4. Now take your bottom-tail and thread it through the loop at the bottom.
5. Pull on the upper tail.
6. Keep pulling until the loop is tucked inside the cord wrap. You can trim the ends. Depending on your cord you may need to seal the ends with a lighter to stop them from fraying. (Take care with this step and practise on a spare piece of cord first).
7. Leave a gap then tie a Josephine knot using the front four pieces of cord.
8. Turn your curtain ring around and repeat step with the back four pieces of cord.
9. Leave a gap again and tie two more Josephine knots as shown.
10. Pop your vase/jar inside and see how it fits. You may need to alter the position of the Josephine knot depending on the shape of the vessel you use. Put an elastic band around the eight cords so that your vase/jar is well supported. Take the other piece of cord and tie another gathering knot at the bottom.
Good luck! Let me know how you get on.

BTW: I have been dreadful at replying to emails and comments over the last few weeks…I will make a concerted effort to catch up over the next few days ^_^

Awsome ! and colors!
What a lovely idea. A new book! How exciting. My son and I *love* you first book.
What a sweet vase! I have been trying to find something for this spideresque plant that I purchased awhile back. This might be it!
You know how to surprise your readers! Very beautiful!
OMG! I love you blog and your stunning ideas! This little vase is so cute!!!!
Yay…thanks Josee
Yep…perfect for dangling plants I think!
haha….I feel a bit papered-out at the moment ^_^
very nice!
This is a fabulous project, I love it. The knots are brilliant. I could even see this working in the garden with hanging baskets.
Contente de te lire de nouveau!! j’ai hâte de voir ce bouquin qui se trame, ce n’est pas de tout repos …..
Bon courage et merci pour ce tuto (je le rajoute à ma liste, j’espère ne pas casser le vase!!)
Thanks for the kind words Mimouna. I did have a few scary ‘moments’ with the vase and expected it to break (i am very clumsy!). It’s still safely hanging though!
Thanks Claudia. I do think macramé is very underrated! Jealous looking at your blog! New Zealand looks so pretty at this time of year. Hope your son is setting well into school ^_^
Doskonały pomysł z wazonem ale ja posiłując sie wzorem zrobiłam sznurkową – wiszącą półkę na książki,i też ładnie wyglądą
Love it!!!!! :*
Absolutely corgeous! thank you of this lovely pictures!
Sound great Joanna…thanks for the comment 🙂
That is so pretty!
Ahh…thanks Agaja
I was browising the internet, saw this, and thought of minieco site… and thought it would have been nice if i had shared ^^
Here’s the link: http://blog.mrprintables.com/diy-glycerine-soap-gem-stones/
(:
I LOVEEEEEE YOUR TUTORIALS! Please keep them coming!
There is no crafty website more exquisite and fresh like yours ! <3
Thanks for the kind comment Layal *^_^*
Thanks for sharing Gi….yep, it’s very ‘me’! x
(:
I LOVE the cord (Shoe laces) you’ve used but don’t know where i could find such a thing in Australia – You didn’t happen to buy them online did you?
I’m very new to your blog but LOVING it! Thanks x
Hi Melissa,
Sorry for the late reply. I managed to buy some super long laces from ebay (http://stores.ebay.co.uk/Big-Laces-UK). They sell some pairs that are over 3 metres long. Other than that you can try paracord or even the rope washing line (which you could dye). Good luck anyway.
Kate ^_^
Your ideas are so fresh and colorful! And this hanging vase looks great. I love it!
Thanks Monika
omg lovely
very lovely done, it’s the glass and the soft light pink and the brilliant skills of yours of the knotting that made it just so gorgious.
thank you for the sharing. Well done!!!!
very beautiful….. i will try 🙂
http://www.daybydaycreation.blogspot.com
Wow! How sweet, a great idea! Your example has been made with such gorgeous pastels, I love it! A talented make overall, and thanks for the tutorial!
Good response in return of this difficulty with genuine arguments and explaining the
whole thing about that.
It looks so pretty! I’m not sure I can make it, but I’m going to try :))