Did you know it was national stationery week? I had no idea! Paperchase have made this animation in celebration. I thought I would share it because lots of people have emailed me over the years asking […]
Did you know it was national stationery week? I had no idea! Paperchase have made this animation in celebration. I thought I would share it because lots of people have emailed me over the years asking […]
Hello there! I have spent the last few days blowing the cobwebs off this blog. It’s been nearly four months since my last post (life has been way too busy). I do hope you have all […]
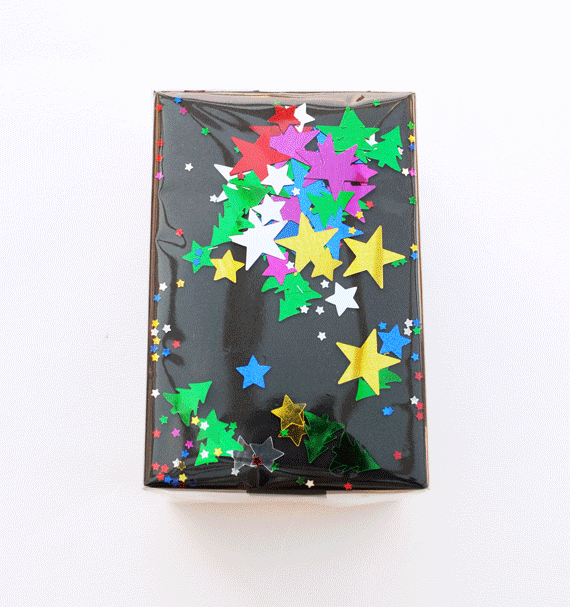
Here is a Christmassy version of my confetti wrap. I love it because there are no bows to get squashed. The best bit is that the confetti moves around when you shake it. I hope all […]