H ere is a 60 minute project for those of you who like woodwork but don’t have a lot of time on your hands.
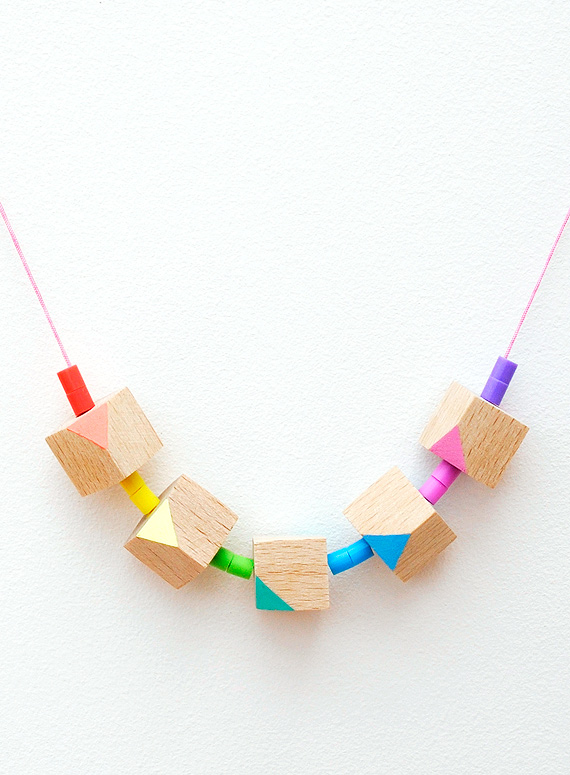
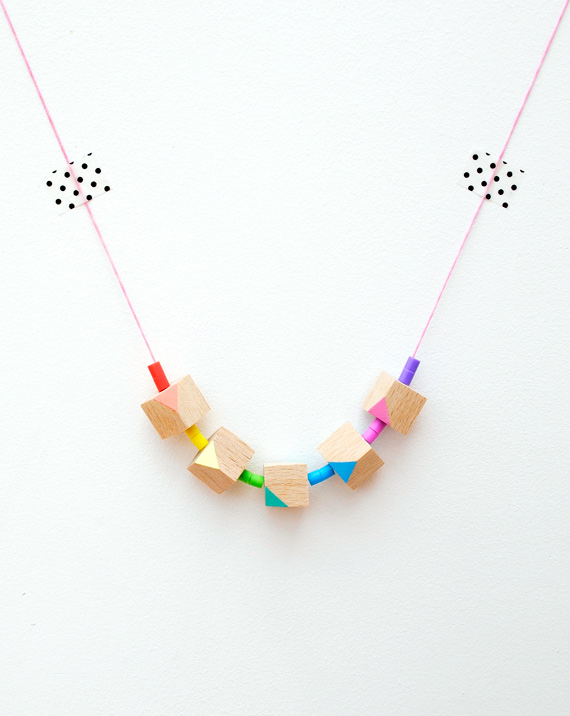
All you need is some cube-shaped wooden beads, sand-paper, paint and a bit of cord to string them onto.
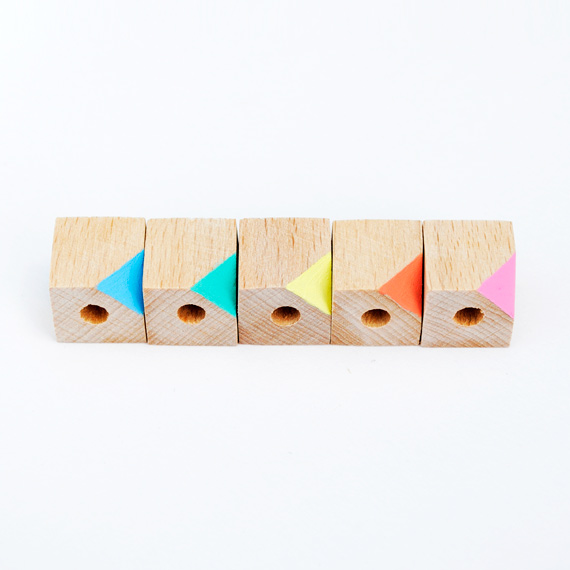
YOU WILL NEED:
– – – – – – – – – –
+ Some cube shaped wooden beads
+ Sandpaper (fine and medium grade)
+ Acrylic paint
+ Paintbrush
+ Cord
HOW TO
– – – – – – –
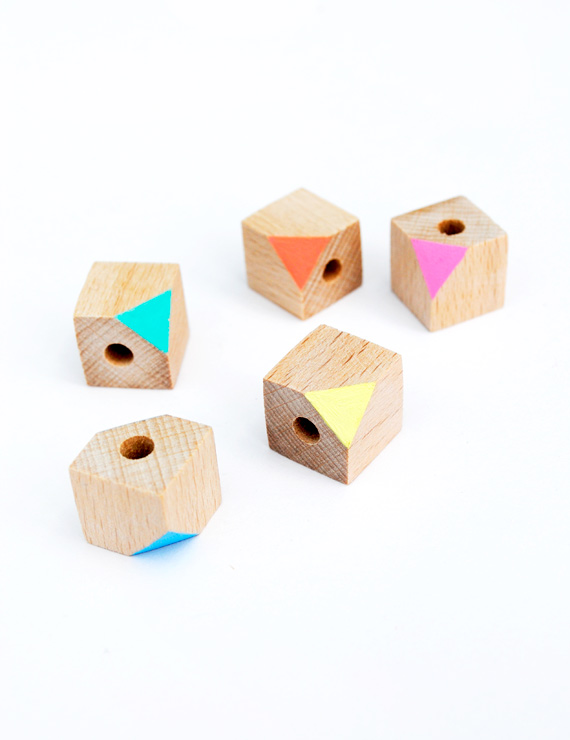
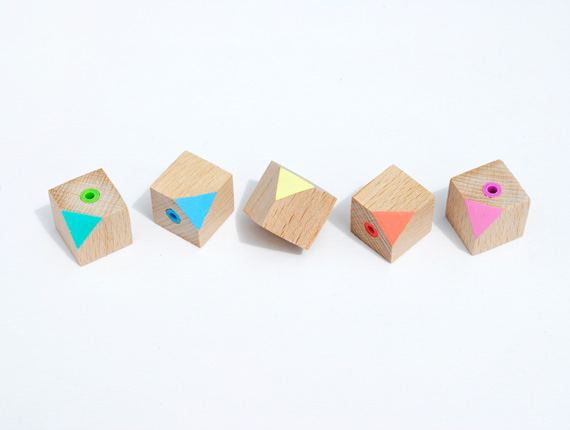
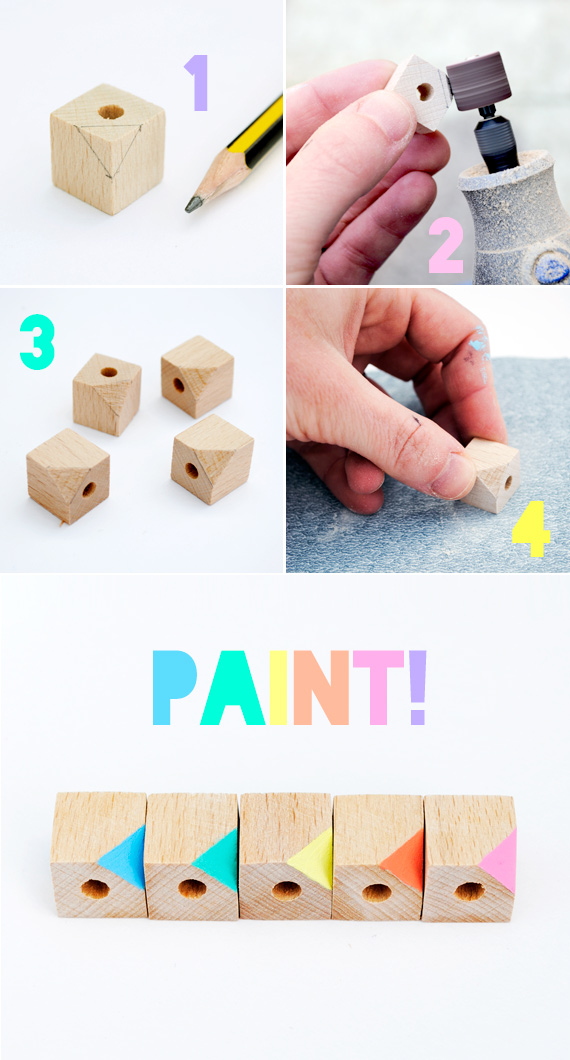
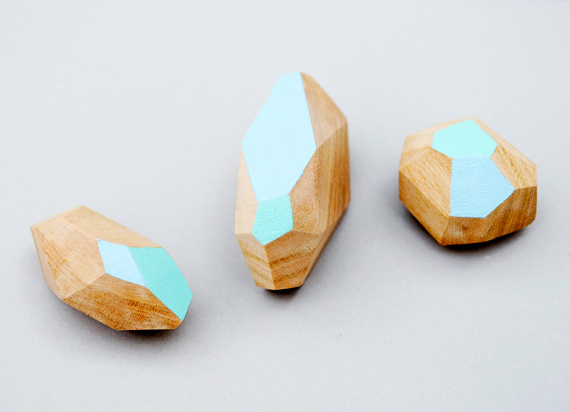
1. Take your bead. Using a pencil mark the mid-way point on 3 adjoining edges. Join each of the points with a straight line as shown. I also drew a second triangle on the opposite corner of the bead.
2. Sand both corners down. I used a dremel drill but medium grade sandpaper will do the job just as well.
3. Sand all the faces with a fine grade sandpaper.
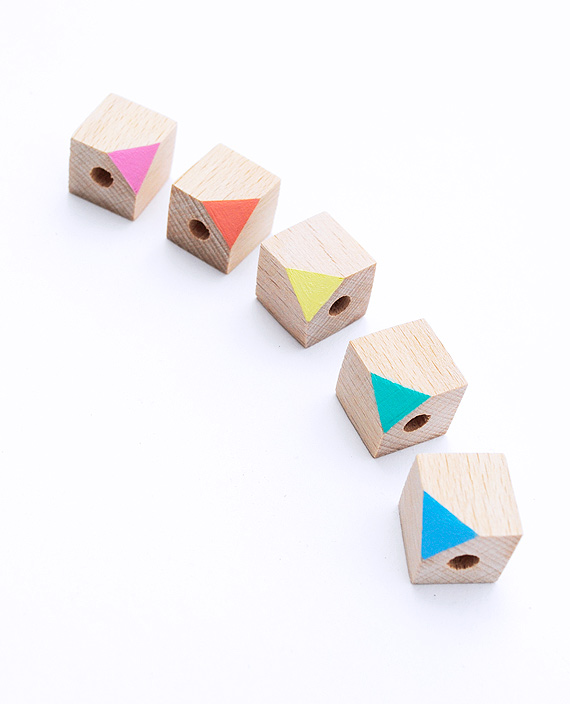
4. Paint both triangular faces in a pretty colour.
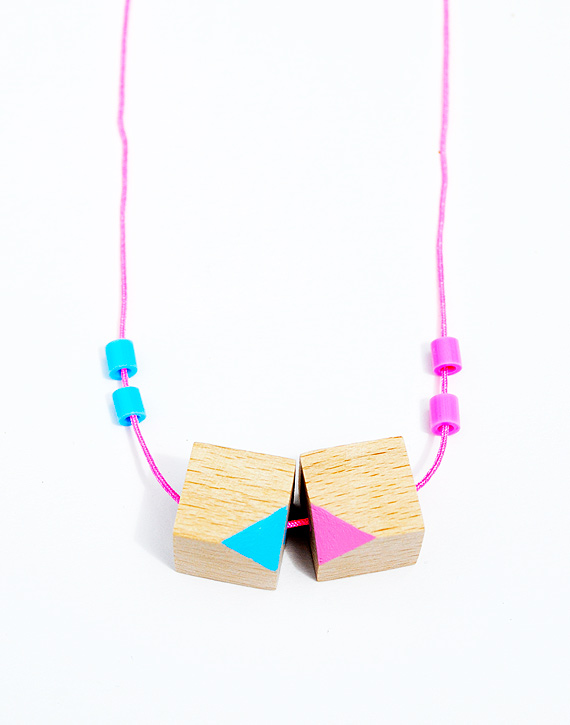
5. String onto some cord.
….if you do manage to find some more spare time you can make your own beads from a chunk of wood (Happy Friday BTW!)


I just love these beads.. another great idea, thanks 🙂
Adorable! I love your blog 🙂
Thanks Pip ^_^
🙂
This is brilliant, such a great idea! Such a perfect colour palette :).
fantastic have just made something similar in fimo will try with old wood block toys, that i realised might be too toxic to chew on ( for baby that is) will recycle them. cheers nina
Awesome! And I have a question, is the acrylic paint permanent enough so that it doesn’t need some kind of sealant coating? Thanks!
Such a great DIY post! Looks easy enough- and looks great!
I just discovered your blog. Love this idea! Thanks for sharing 🙂
Thanks Julia ^_^
Hi there I don’t have the Dremmel sander so I used sandpaper and my edges came out rounded. Any advice on how to get the fixed?
Hi Ali…it came from amazon 😉
So easy, yet, so cool!
Love these – especially the DIYfreeform version 🙂