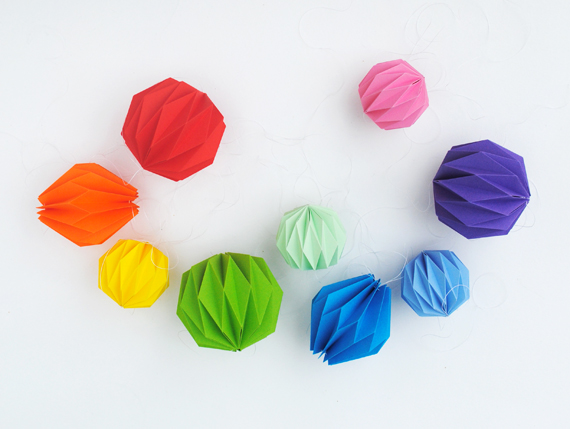
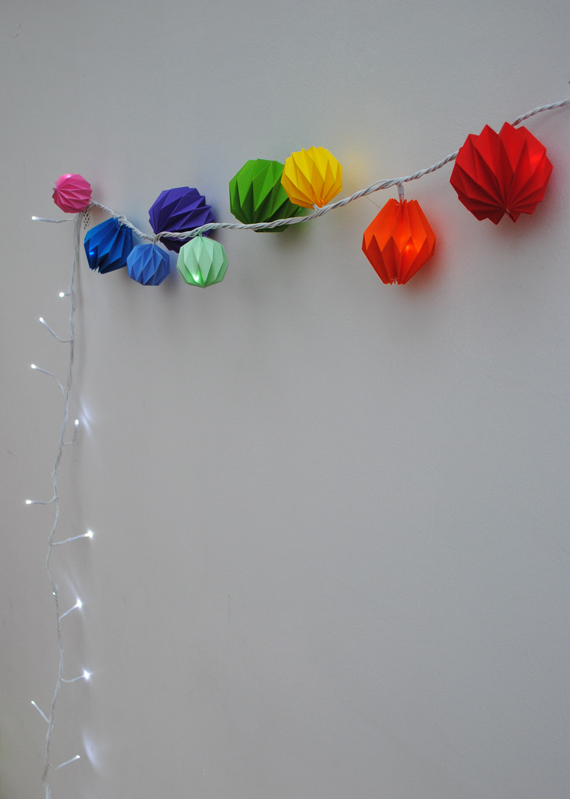
I finally got around to finishing these origami decorations. I’m really pleased with the way they turned out.
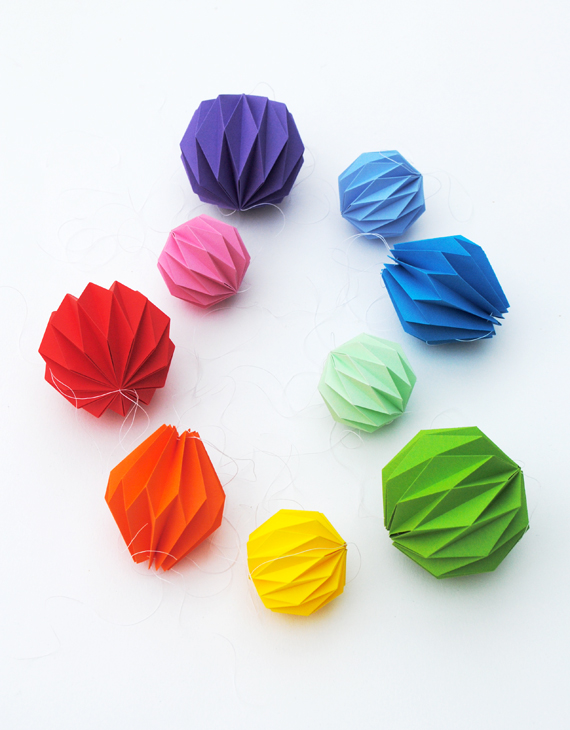
I’ve started stringing them on to some fairy lights but they would look just as great as Christmas tree decorations. They are surprisingly sturdy too!
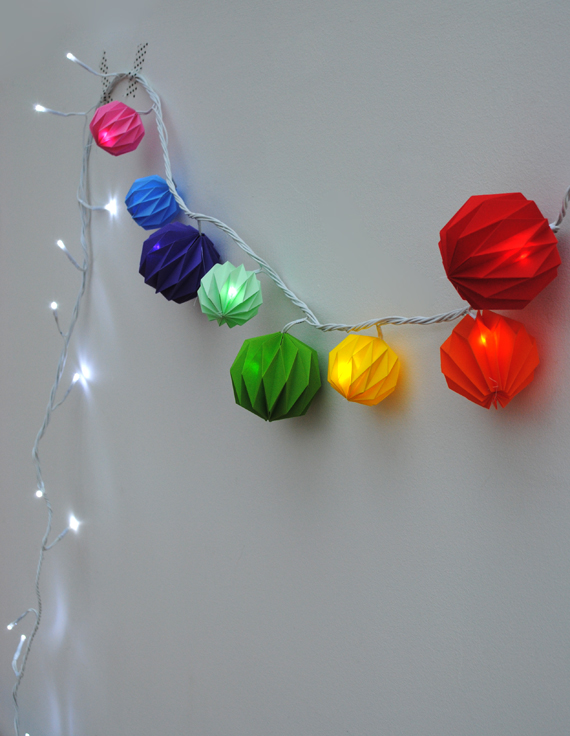
If you want to have a go then you will find the how-to after the jump.
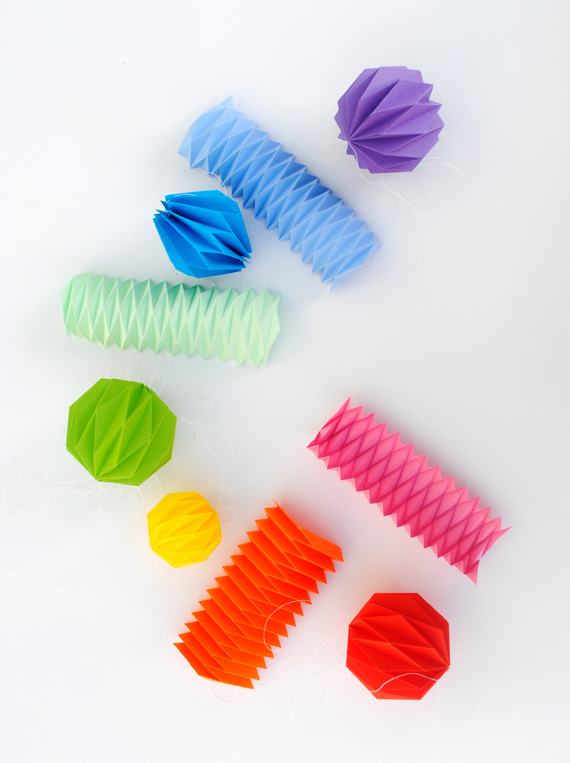
As I said in my previous post if you want to explore more of these folding techniques then you can buy a fantastic book called ‘Folding Techniques for Designers‘ by Paul Jackson. I had it as a present last Christmas and love it. (If you are strapped for cash then do try your local library ^_^)

YOU WILL NEED:
– – – – – – – – – –
+ A4 Paper
+ Scissors
+ Ruler
+ Needle (for scoring)
+ Double sided tape/glue (I used loctite all purpose glue)
+ Printable templates (all files are at the bottom of the post)
HOW TO MAKE MODEL A (Orange & bright-blue decoration)
– – – – – – – – – – – – – – – – – – – – – – – – – – – – –
1. Print the ‘Model A’ template onto A4 paper. Cut around the outside of the template.
2. Score along ALL of the solid and dotted lines using a ruler and compass (or needle).
3. Push a needle through all of the dots (along either side of the template).
4 & 5. With the printed lines facing towards you fold along all the horizontal lines as shown
6. Flip the paper over and start to press in the central zig-zag.
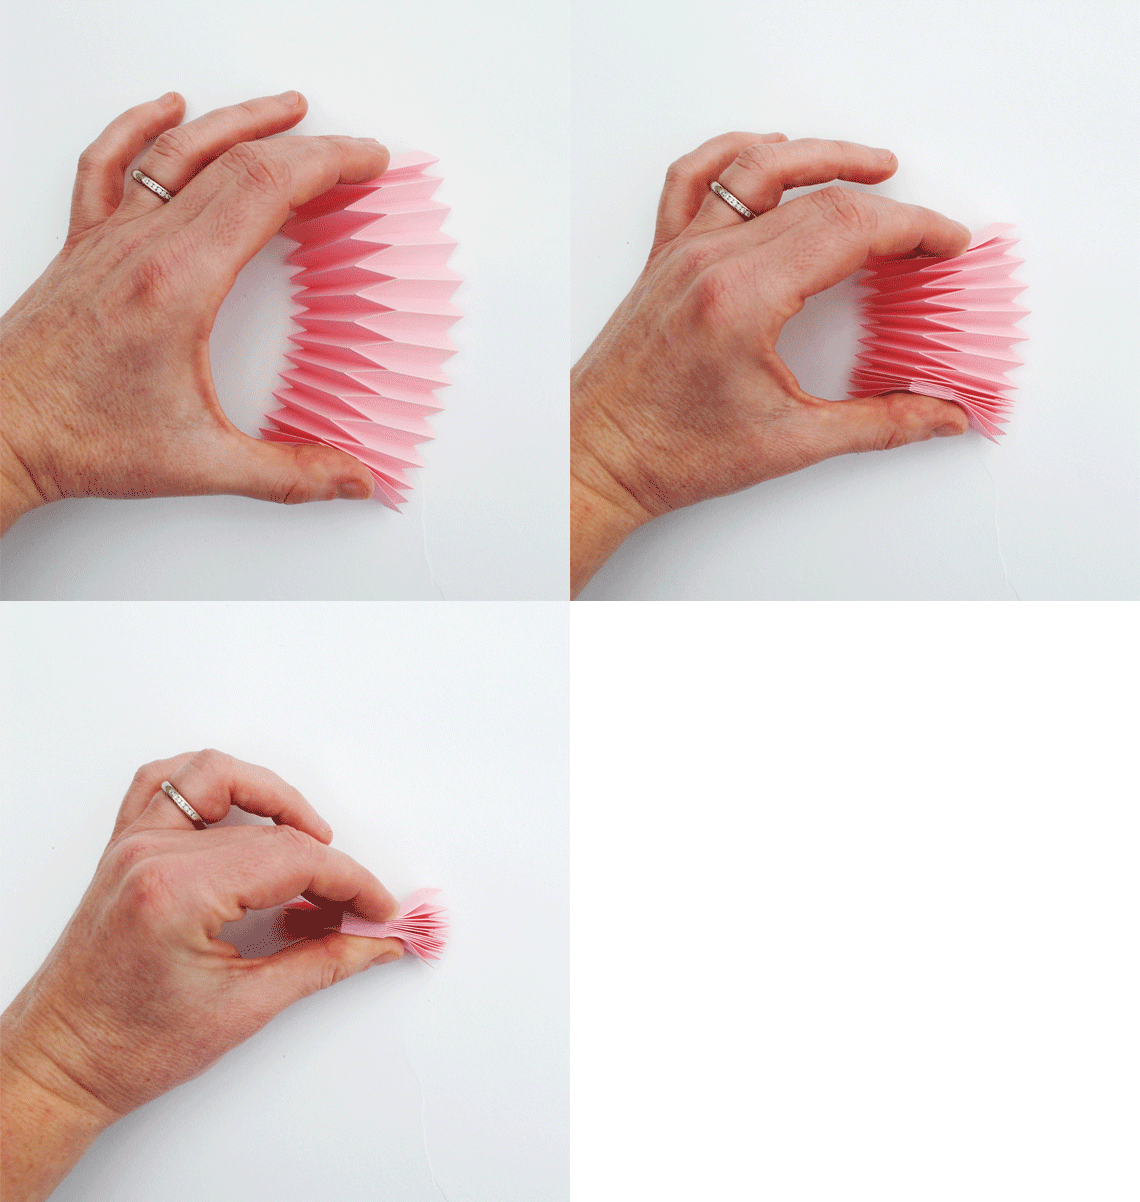
7. You should be able to start slowly collapsing the paper, as shown. This is the trickiest bit and requires a bit of patience.
8. Carry on collapsing the paper until you reach the end of the strip.
9. Sew some thread through the holes running along one side of the piece of paper (but NOT the first two holes and the last two holes). Repeat on the other side of the paper.
10. Flatten the strip of paper at either end as shown.
11. Bring the ends together and glue into position.
12. Sew your thread through the remaining holes. Pull tight and tie!
HOW TO MAKE MODEL B (All except for the bright-blue and orange decoration)
– – – – – – – – – – – – – – – – – – – – – – – – – – – – –
1. Print the ‘Model B’ template onto A4 paper. Cut around the outside of the template.
2. Push a needle through all of the dots (along either side of the template).
3. Follow steps 1-8 in my other accordion paper folding tutorial
4. Follow steps 9-12 in the ‘Model A’ tutorial.
TEMPLATES
– – – – – – – – – –
Model A [pdf]
Model B – Large [pdf]
Model B – Small [pdf]

Hi Kate, another supernice thing I’m going to make for the holiday’s!
The only downside is that the “Model B – Small” pfd link isn’t working..
Lovely! Had fairy lights in mind right after I saw the first image on my feedly! What does the paper weigh you used?
I really recommend that book, I used it for a course a design school and it so amazing! Wish I owned it though… Maybe I’ll go for the english version, since the german version costs twice that much :/
Blast…all fixed now!
Thanks for letting me know Marit ^_^
Hi Steffi,
The paper is just regular printer paper. I think thinner paper may work better for the fairy-light version as it would let more light through…or possibly velum?!
The book is ace…shame the German version is so expensive :-/
Really pretty. I think I will make some of them as Christmas Ornaments in our new appartment. Thank you for the tutorial.
These are so festy! I am looking forward to trying this folding technique and decorating my apartment for the holidays! Big fan of your work! ♡
Thank you soooo much for your great tute and your sharing. I have seen alot of those foldings and always didn’t understand the how to.
I was glad with this great tute of yours and the other great and fun things you’ve shared with us all.
You’re for me a great inspirator and a brilliant artist!!!!
Thank you for sharing, Kate! They look incredible!
These are fantastic, especially with the LEDs. Thanks. Yes, Paul Jackson is genius!
These delight me so much! They look difficult, but definitely like something I want to master!
Very pretty. I am going to have a go at this.
Hi Camilla,
Once you ‘get it’ and develop the knack it becomes easy I promise. Developing the knack does require a bit of patience. Collapsing the first few rows is the hardest bit.
You can cut one of the templates up into four pieces – so you have several smaller test pieces to work on. Once you have figured it out on a small scale try the large one.
Paper weight shouldn’t make a difference. I would say its actually easier using lighter paper.
WOW!!! That looks amazing!!! I’ve already downloaded so many templates from this website. My room is fully decorated. Thank you, Minieco!!!!!! <3
These are so amazingly lovely! Fabulous idea!
http://cafecraftea.blogspot.com
very nice….
There are terrific. Where do you get this bright colored paper?
Hi Mike. All my paper comes from Paperchase (and no, they don’t sponsor me!)
Hi
I absolutely adore your site. Thank you for putting that much effort into it.
I cannot get the link to model B small to work…
Happy new year 🙂
Pernille, Denmark
It works now – sorry!!
Glad you got it sorted ^_^
Hiya,
Do these have to be made with an odd number of segments in the starting template? I haven’t got access to a printer, but I’m considering folding it without the template. But that’d be a lot easier if I could fold an even number of segments….
Thank you! Oh, and what size ish do the small/large b models come out as?
😀 They are beautiful.
Hi there, everything is going perfectly here and ofcourse
every one is sharing facts, that’s genuinely fine, keep up writing.
Just stumbled across your website – WOW!!!
I really can’t get this to work 🙁 I have printed out the templates you made, but when i comes to the folding part I loose my head and temper – do you have a link for video perhaps, I can then see the trick to the folding problem I have.. Want to make this as an congrats on your new flat present, but as it is going right now, they better not move until the year 2017 … ARGHH, loosing it…
Hi Kate,
Stumbled upon your website a couple of weeks ago and really liked these folded balloons! Have tried your examples and decorated our christmas tree (and due to a lack of space also other parts of the house) with them. Thanks a lot for the templates!! They were very helpfull and after doing a couple I was able to elaborate on them. They look amazing 🙂 I’ve even managed to encorporate them in a christmas card, so I’m already busy folding new ones for next year haha.
Best wishes for (a creative) 2015! Greetings from the Netherlands
Thanks a lot. It took a bit of practise to fold them. Model A was easier than model B.
It helped a lot to cut one template in smaller piece to get the knack of folding.
They worked out real nice and will be hanging in the Christmas tree this year.